
Once clones, seedlings and/or tissue cultures graduate from the propagation room, they can be moved into vegetation areas.
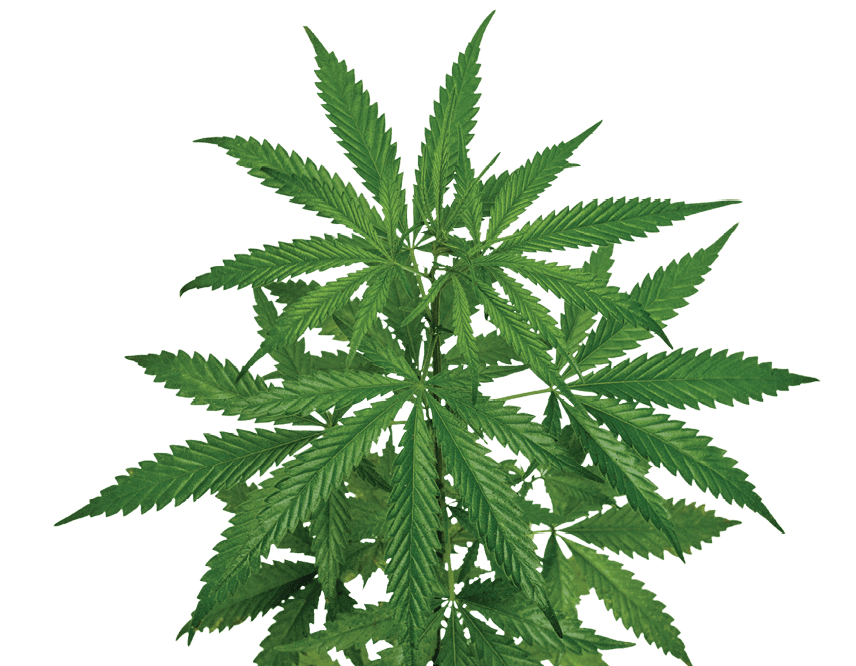
During the vegetation stage, the plant is focused on cellular division for vegetative growth. In other words, it’s creating more leaves and more branches.
Indoor and greenhouse growers have a lot more control over the grow environment and processes during this stage. It can take time to dial in settings—data collection and analysis is your friend in this regard—but once ideal conditions and protocols are established, this stage can run like a well-oiled machine.
Follow these tips to ensure your crops thrive in their second growth stage.
1. Grow more vegetative plants than you will need in flowering.
As in the propagation stage, it’s wise to have more plants available in vegetation than you want to bring to stage three (flowering). Having more plants in vegetation than is needed enables growers to choose only the best plants available to flower. Vigorous growth and dense canopies typically are signs of a winning plant that is likely to continue that growth pattern into flowering, so focus on culling the laggards.
2. Eliminate unnecessary lower vegetative material.
Lower branches and fan leaves need to be removed. In fact, this “clean up” step is typically performed multiple times in stage two once the plants are 24 inches or taller. This step should be performed every two weeks if the plant is vigorously growing, and less frequently if not. How much foliage you remove will be cultivar specific, as each variety has its own growth rate; but, in general, you can safely remove the bottom three leaf sets/branches.
By removing lower material that does not receive adequate light exposure (thus producing spindly growth), you ensure proper air flow between plants. This helps prevent potential hot spots or stagnant air, which sometimes can facilitate mildew growth. Additionally, by removing unproductive vegetative material, the plants can allocate resources (e.g., nutrients, water) to remaining branches and floral structures.
Stop removing vegetation from the plants after two weeks into flowering (stage three), as removing anything after that could cause unnecessary stress to your crop.
3. Monitor pH and ppm of all water inputs and runoff.
Water for plants grown in any kind of media (except tissue cultures during propagation) should be monitored for both nutrient levels (measured in parts per million (ppm)) and pH both before and after it has passed through the growing media. This should be done starting in the propagation stage but is absolutely necessary in vegetation.
Monitoring water inputs can reveal issues like nutrient imbalances (potentially caused by a faulty mixing system). Observing runoff can uncover potential problems such as nutrient lockout, causing a deficiency of one form or another leading to stunting, reduced yields and, in worst cases, crop failure.
I prefer to log all water and nutrients given to a plant, as well as the runoff to see if pH or ppm levels shift significantly. If all goes well, your runoff solution will have pH and ppm levels similar to the levels that went into the media. Any large deviations are signs of a nutrient imbalance or lockout.
4. Look out for pests common to your region and growing environment.
Oftentimes, pest and disease problems are born in vegetation rooms. Full on outbreaks might not happen until weeks later, which makes scouting during this stage more difficult—if you catch something early, you can drastically improve the odds of mitigation before your crop is affected.
What problems you might encounter greatly depends on your location and growing environment. For example, in a properly designed indoor facility or greenhouse, there rarely is a threat from budworm caterpillars, yet they can be an especially big problem for outdoor farms in northern California. The best method to prevent budworm is to apply bacillus thuringiensis (BT) to the plants while they are still in stage two of development (this can be done up until week two of flowering). BT will minimize the probability of a moth laying eggs on the plant and reduce the survival rate of any larvae that eclose.
Growers in all environments can leverage sticky indicator cards to monitor pest populations. It’s important to remember the goal is not to always have clean sticky cards, but rather to have a consistent minimal impact on your crop. If sticky cards suddenly are swarmed, it could be time to invest in more pest control measures before reaching the worst-case scenario: being forced to destroy your crop.
5. Refine your fertilizer management knowledge.
Doing so will allow you to rapidly detect symptoms of both over- and under-fertilization.
Also, educate yourself regarding the differences between ammonium nitrate and nitrate nitrogen, because while both are utilized predominantly in stage two, nitrate nitrogen is also utilized in stage three in small amounts, but not so much for ammonium nitrate. In a May 2016 Cannabis Business Times article, Kerrie and Kurt Badertscher noted that “ammoniacal nitrogen drops pH three times faster than nitrate nitrogen raises it,” so growers using ammonium nitrate must pay closer attention to their media or solution pH.
CBT’s “Cultivation Matters” series from researchers at North Carolina State University can be a good resource on the latest research, as can the publication’s “State of the Cannabis Nutrient Market” report, published in the December 2021 issue.
6. Be mindful of your container size.
I once walked past a huge dumpster full of root balls from plants—literally thousands of them, with what seemed to be an inordinate amount of soil relative to the root development. I asked the owner how much they spent per month on soil (this was an indoor facility). “$18,000 per month,” they replied. I was taken aback by the environmental disaster in front of me—because state regulations had specific dumping protocols, this company was forced take some of the most valuable soil on Earth, use it once, and then dump it.
When I continued my inspection, I confirmed that the containers were much too large for the size of the plants they were growing. This company could have investigated using smaller containers so that the media was completely utilized without excess soil, which would both save labor (for filling and moving larger pots) and resources.
Monitor plant development over time, and analyze root balls to determine if your containers and media are properly sized. Collected data might reveal cultivar-specific details that can allow you to reduce costs as well as increase sustainability and profitability.
7. Ensure your lights are set for vegetative growth.
Lighting requirements are different for all three growth stages of a cannabis plant. That said, many lighting manufacturers today make specialized lighting for each stage of plant development.
The preferred light spectrum for vegetative plants (stage two) is different than the requirements of stage three (flowering); whether you are utilizing HID or LEDs, you should match the light spectrum to the growth stage. Some cultivars have different spectrum preferences, and some LED fixtures are able to adjust varying spectra.
Like trimming, light intensity requirements also will be cultivar specific. That said, during stage two, you can dial the light intensity beyond the 1,500 lumen per square foot limit recommended for the propagation stage—just keep a close eye on your crop to ensure the plants don’t get stress from excessive radiant heat (causing burn) or from the light intensity (causing bleaching).
Follow these tips to increase your odds of a successful vegetation stage, and increase your chances of a great flowering period.